
These refried beans are creamy, savory, and deeply comforting, with soft pinto beans, onion, garlic, and rich fat all cooked down into a smooth, scoopable mash. Keeping a little extra liquid nearby lets you stop at exactly the texture you want, from rustic and thick to softer and silkier.
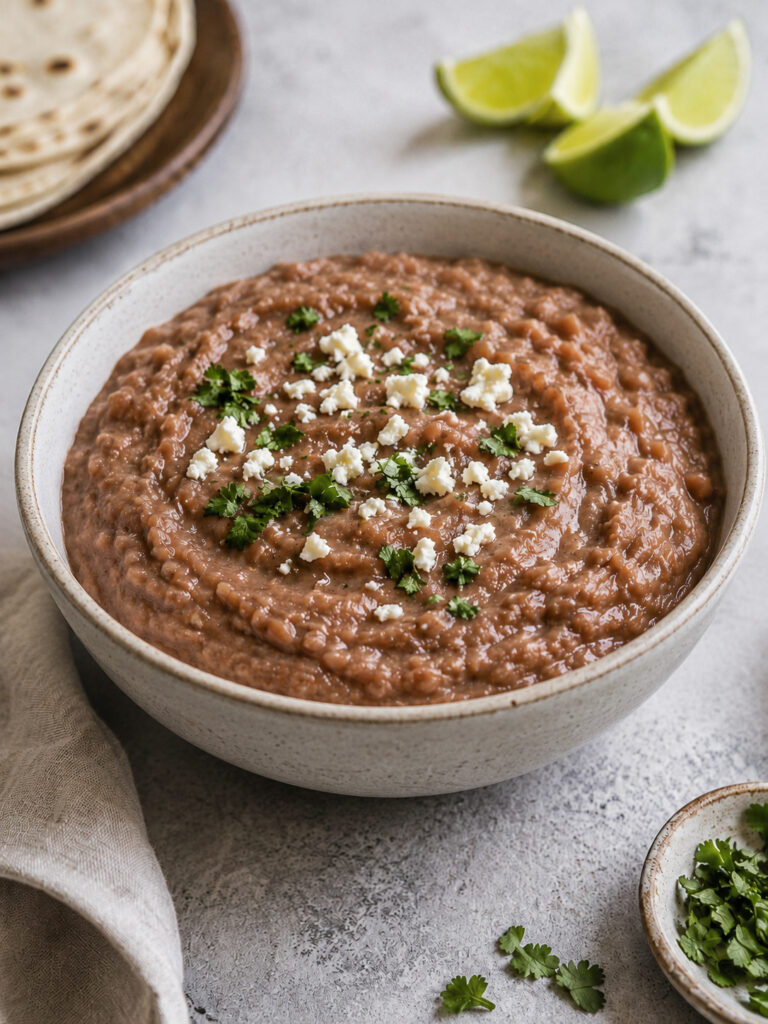
Refried beans are one of those quiet kitchen staples that do a lot of work. They can sit beside rice and grilled meat, spread inside burritos, anchor a plate of huevos rancheros, or simply land in a warm bowl with tortillas and salsa. What makes them so satisfying is how straightforward they are: tender beans, cooked onion, garlic, salt, and fat, all brought together until the texture turns creamy and rich.
A good batch should taste full without being busy. The beans bring warmth and body, the onion and garlic add depth, and the fat rounds everything out so the final dish feels silky instead of chalky. The texture matters just as much as the flavor. Refried beans should be thick enough to hold their shape on a spoon, but still soft enough to spread easily and relax into a plate without clumping or feeling dry.
They’re especially loved because they turn humble ingredients into something that feels complete. Even without a long ingredient list, they taste layered and comforting, and they fit into breakfast, lunch, or dinner without any trouble. Served fresh from the pan, they’re soft, glossy, and deeply savory. Cooled and reheated, they’re still useful, still delicious, and often even more flavorful the next day.
What to Serve With: Serve them with warm corn tortillas, Mexican rice, eggs, roasted vegetables, grilled meats, or a spoonful of salsa. They’re also excellent in burritos, tostadas, quesadillas, or spread onto a tostada with avocado and crumbled cheese. For a simple plate, add lime, radishes, and a little chopped cilantro.
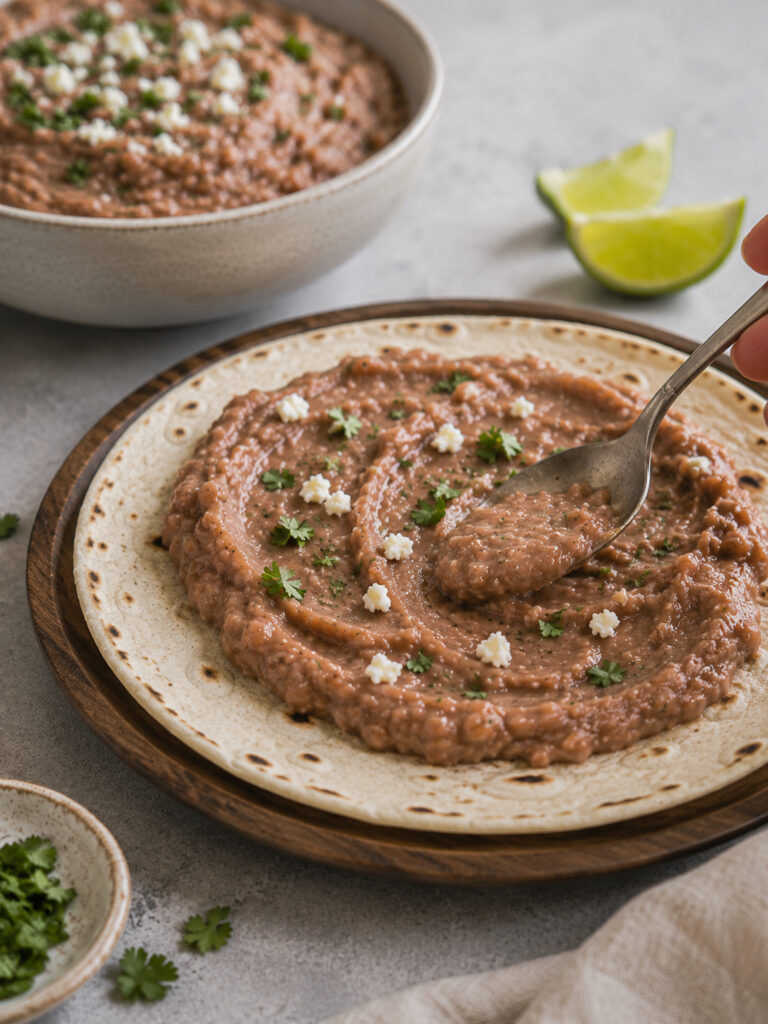
Table of contents
Refried Beans Ingredients
Pinto beans – Choose whole canned pinto beans rather than already-refried beans so you can control the texture and seasoning yourself. Pintos are the most common bean for refried beans, while black beans are another classic option if you want a darker, earthier version. Using the beans with their liquid helps you build a creamier pan sauce as they mash.
Lard – Rich-tasting lard gives the beans their most traditional roundness and savory depth. It matters because a simple dish like this really depends on the quality of the fat for its final flavor and mouthfeel. Neutral oil works well too, but the finished beans taste a little lighter and less rich.
White onion – A white onion gives the cleanest savory base and melts into the beans nicely once softened. That matters because you want background sweetness and depth without obvious chunks dominating the texture. Yellow onion works too, but the flavor turns a little sweeter and softer.
Storage
Fridge: Cool and refrigerate in an airtight container for up to 3 to 4 days. Pressing a piece of wrap or a lid close to the surface helps keep the top from drying out.
Freezer: Freeze in a tightly sealed container for up to 3 to 4 months. Thaw in the refrigerator before reheating for the best texture.
Reheat: Reheat gently on the stovetop or in the microwave with a splash of water, stirring until hot throughout. For leftovers, 165°F / 74°C is the safe target.
Allergens & Substitutions
Contains: None of the major common allergens.
Lard: Pork lard gives the roundest, most traditional flavor. Neutral oil works 1:1 for a lighter, less savory result.
Pinto beans: Canned black beans work 1:1 and make the beans darker, earthier, and a little firmer.
White onion: Yellow onion works 1:1 and gives a slightly sweeter finish.
Queso fresco: Crumbled feta can replace it if needed, but the flavor will be saltier and sharper.
Cilantro: Leave it out if you prefer; flat-leaf parsley is acceptable but tastes less distinctly classic.
Refried Beans
- Total Time: 28 minutes
- Yield: 6 servings
Description
Creamy, hearty, and deeply satisfying, these refried beans combine soft pinto beans with onion, garlic, and rich fat for a perfectly mashable dish. A splash of reserved liquid lets you dial in the texture, whether you like them chunky or ultra-smooth.
Ingredients
🫘 Bean base
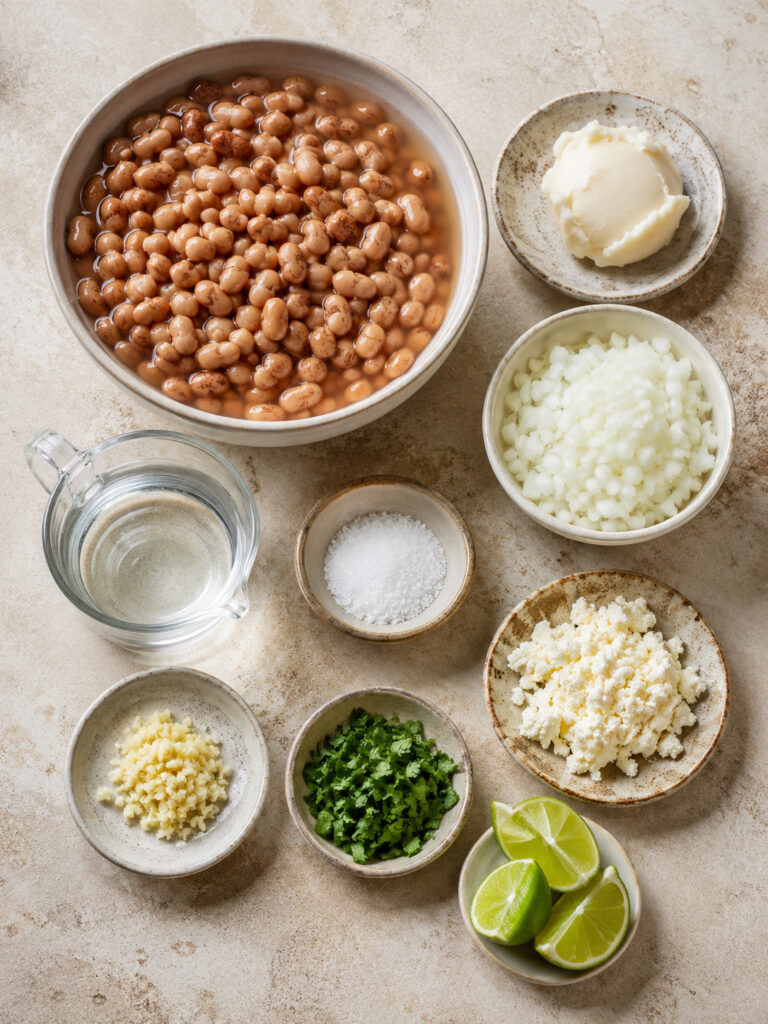
- 30 oz / 850 g canned pinto beans (with their liquid)
- 3 tbsp / 42 g lard (or neutral oil)
- ½ cup / 80 g finely chopped white onion
- 3 garlic cloves, finely chopped
- ½ tsp / 3 g kosher salt, plus more to taste
- ½ cup / 120 ml water, plus more as needed
🌿 For serving
- 2 tbsp / 2 g chopped cilantro (optional)
- 2 oz / 55 g crumbled queso fresco (optional)
- 6 lime wedges (optional)
Instructions
Build the base
- Heat the lard in a large skillet over medium heat.
- Add the onion and cook for 4 to 5 minutes, stirring often, until softened and lightly translucent but not deeply browned.
- Add the garlic and cook for about 30 seconds, just until fragrant.
Simmer and mash
- Add the pinto beans with all of their liquid, the ½ cup / 120 ml water, and the ½ tsp / 3 g salt.
- Bring to a gentle simmer and cook for 5 to 7 minutes, stirring now and then, until the beans are fully heated through and the liquid tastes lightly reduced.
- Mash the beans with a potato masher or sturdy fork until mostly smooth, leaving a little texture if you like.
- Cook for 3 to 5 minutes more, stirring and scraping the pan, until the beans are creamy and thickened. Add 2 to 4 tbsp / 30 to 60 ml more water as needed if they look tight or dry; they should loosen slowly off the spoon, not sit in a stiff mound.
Finish and serve
- Lower the heat and stir for 1 minute more to smooth everything out.
- Taste and add more salt if needed.
- Spoon into a serving bowl or serve straight from the pan. Success looks like beans that are creamy, glossy, and spreadable, with enough body to hold on a tortilla but not so much that they look dry or pasty.
Notes
- Keep extra warm water nearby, because refried beans almost always need a last texture adjustment right at the end.
- Beans keep thickening as they cool, so stop when they look a touch looser than your final target.
- Mash in stages instead of all at once, which gives you better control over whether the final texture stays rustic or turns smoother.
- Stir and scrape the skillet as the beans finish, because that last stretch is where they go from creamy to scorched surprisingly fast.
- If you want a silkier batch, blend just part of the beans and stir them back in instead of pureeing the whole pan.
- Warm tortillas or plates make these feel softer and creamier longer, especially if you’re serving them right away.
- A little lime on the side brightens the richness nicely, even though the beans themselves stay savory and mellow.
- If you are using canned beans, taste before adding extra salt, because brands vary more than you’d expect.
- Prep Time: 10 minutes
- Cook Time: 18 minutes
- Cuisine: Mexican
Refried Beans Variations
- Black refried beans (earthier, slightly darker)
Change: Replace the pinto beans with 30 oz / 850 g canned black beans. Add 2 to 4 tbsp / 30 to 60 ml extra water if needed while mashing.
Result: Darker, earthier beans with a slightly firmer texture and a deeper, more mineral flavor. - Bacon-fat refried beans (smokier, more savory)
Change: Replace 2 tbsp / 28 g of the lard with 2 tbsp / 30 ml bacon drippings, keeping the remaining 1 tbsp / 14 g lard or 15 ml oil.
Result: A smokier, more savory batch with a stronger pork note and a slightly more robust finish. - Smooth restaurant-style beans (silkier, less rustic)
Change: After step 2.3, blend the beans with an immersion blender or in a food processor until smooth, then return them to the skillet and cook with 2 to 4 tbsp / 30 to 60 ml extra water as needed.
Result: Silkier, more uniform beans that spread very easily and feel especially creamy.
Nutrition & Dietary Information
Nutrition Facts
Low carb | ❌ |
Keto | ❌ |
High Protein | ❌ |
Gluten free | ✅ |
Low sugar | ✅ |
Dairy-free / Lactose free | ✅ |
Vegetarian | ❌ |
Vegan | ❌ |
Low sodium | ❌ |
Low Fat | ❌ |
Paleo | ❌ |
Pescatarian | ❌ |
Nut Free | ✅ |
Egg Free | ✅ |
Soy Free | ✅ |
Sesame free | ✅ |
Nutrition information is an estimate and may vary based on ingredients, brands, and portion sizes. This information is not intended as medical advice. For medical or dietary needs, calculate with your specific ingredients and consult a professional.
Diet-Friendly Swaps
Vegetarian: Replace the lard with neutral oil or olive oil for a fully meat-free version.
Vegan: Replace the lard with neutral oil and skip the optional queso fresco topping.
Low Sodium: Use lower-sodium canned beans if you can find them, rinse them well, and salt only after tasting the finished mash.
Low Carb: Use a cauliflower mash or a half-bean, half-cauliflower version instead of an all-bean base.
Keto: Replace the beans with a seasoned cauliflower mash and keep the onion, garlic, and fat for the same savory feel.
Paleo: Swap the beans for mashed cauliflower and keep the onion-garlic base simple and savory.
Pesceterian: Replace the lard with neutral oil or another non-meat fat.
Common Problems & Fixes
Likely cause: They reduced a little too far, or not enough extra liquid was added back after mashing.
Fix: Add warm water a spoonful at a time and stir well after each addition, stopping when the beans loosen slowly off the spoon instead of sitting in a stiff mound.
Likely cause: There is still too much liquid in the pan after the beans were mashed.
Fix: Keep cooking over medium-low heat, stirring often, until the excess moisture cooks off and the beans turn glossy and spreadable.
Likely cause: The beans were not mashed enough, or the pan did not simmer long enough for the starch and fat to come together.
Fix: Mash more thoroughly, then cook and stir for another minute or two so the beans smooth out and turn creamy.
Likely cause: The onion and garlic base was underdeveloped, or the final seasoning was never adjusted after mashing.
Fix: Soften the onion fully before adding the garlic, then taste again at the end and add salt in small pinches until the flavor wakes up.
Likely cause: The heat is too high, or the mixture got too dry during the last few minutes.
Fix: Lower the heat and stir more frequently, adding a splash of water as soon as the beans start dragging instead of gliding.
Likely cause: The fat was a little heavy for the amount of beans, or the beans were not simmered long enough to absorb it smoothly.
Fix: Let the mixture cook together a little longer after mashing so the fat blends in, and next time hold back a small spoonful of fat until you know you want it.